
ENJA
From booking your trip to getting online abroad, in five steps.
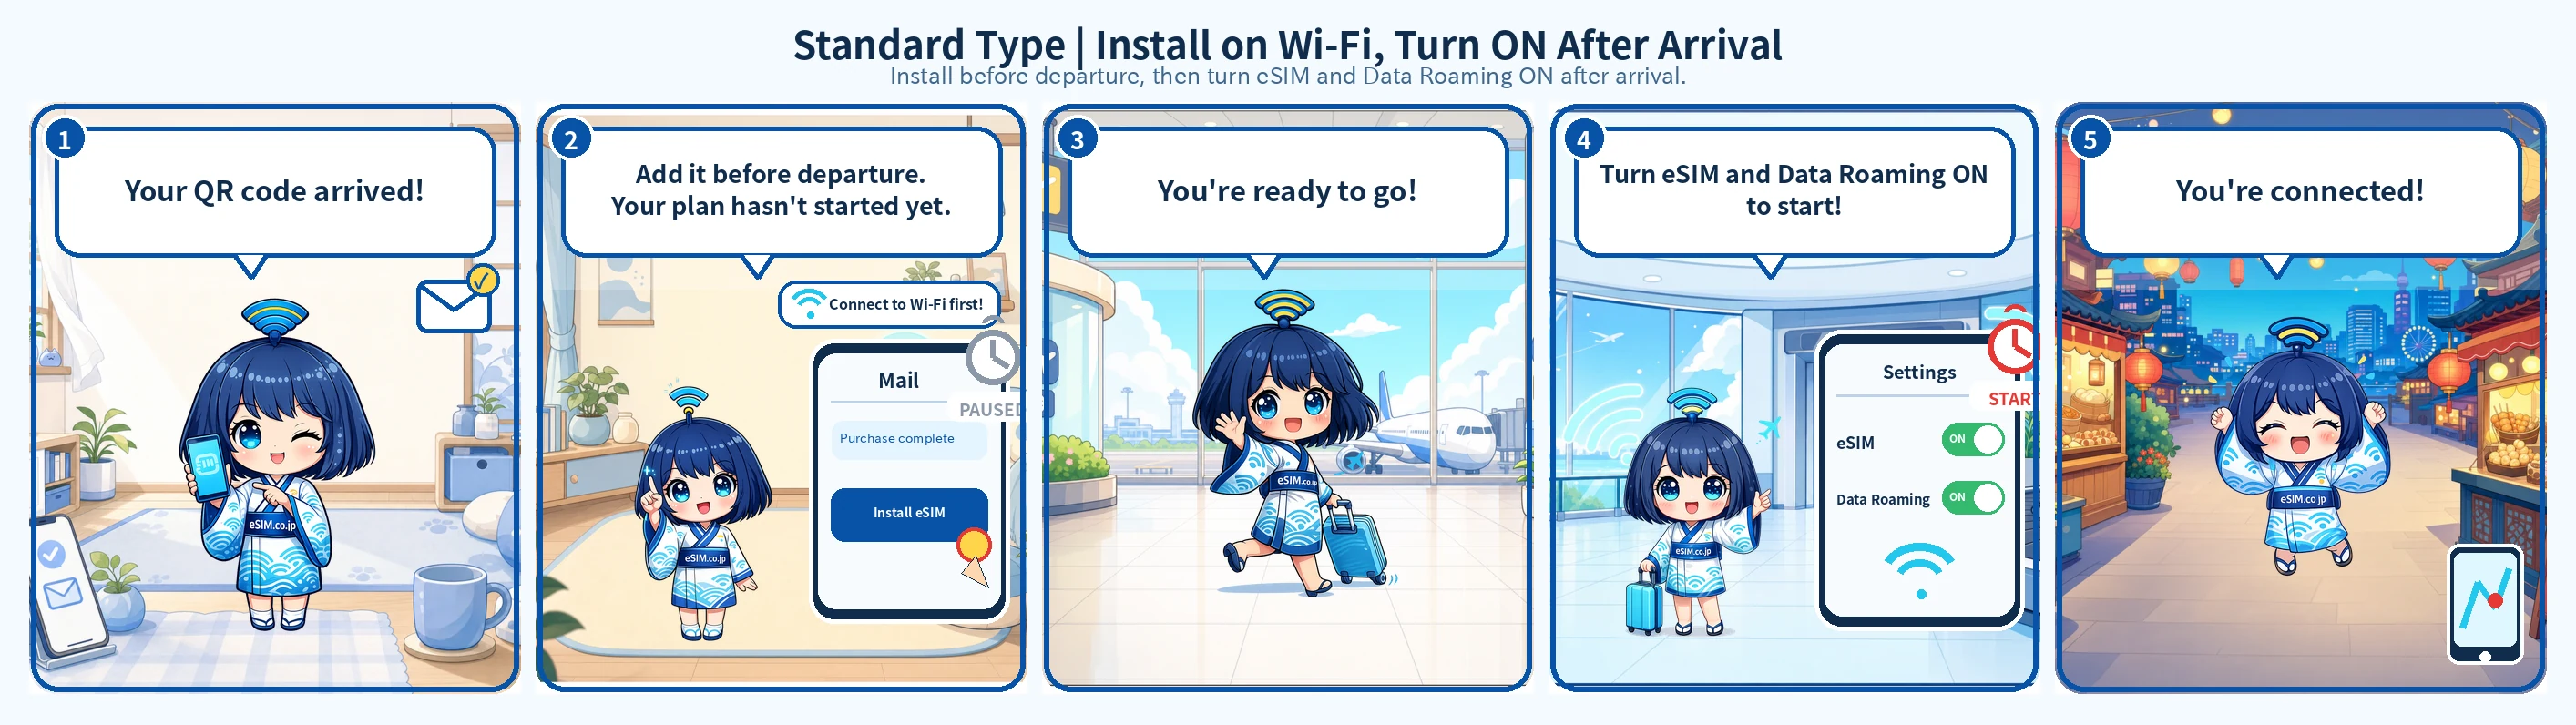
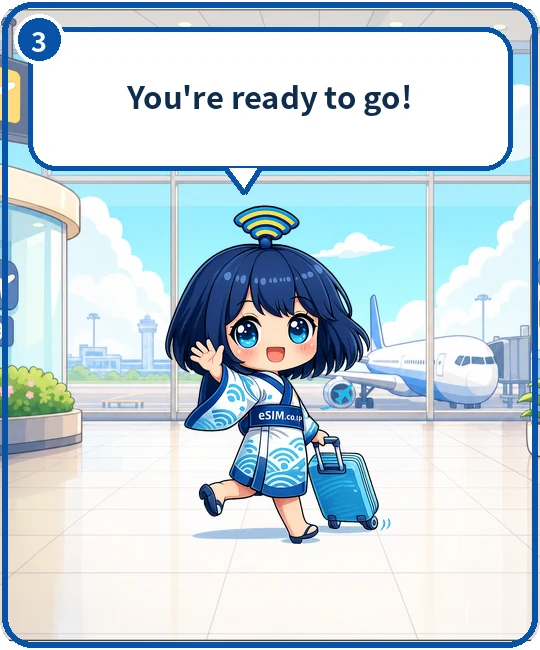
Once you know where and when you're going, the only thing left is data. No queueing at an airport SIM counter.
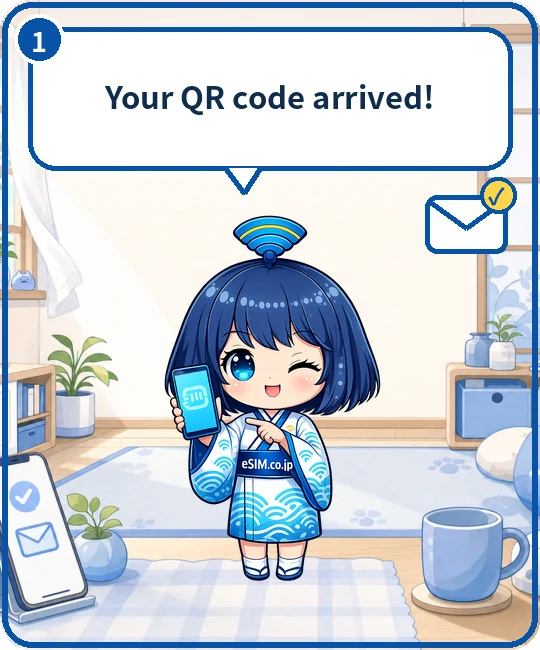
Pick your destination and how many days, choose a plan, and pay. No account needed — about three minutes. Your QR code arrives by email right away.
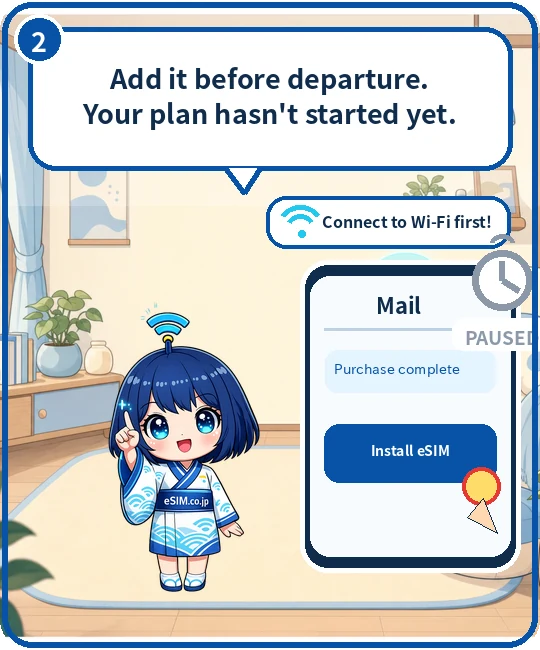
For most plans, your days start when the eSIM comes online at your destination — adding it does not start the clock. Add it before you leave, so you land ready to go.
Connect your phone to Wi-Fi first — downloading the eSIM needs a connection.
Products activate differently. For some, the clock starts the moment you add the eSIM; others need you to dial a short number after you arrive. Always check the activation method on the product page and in your QR email.
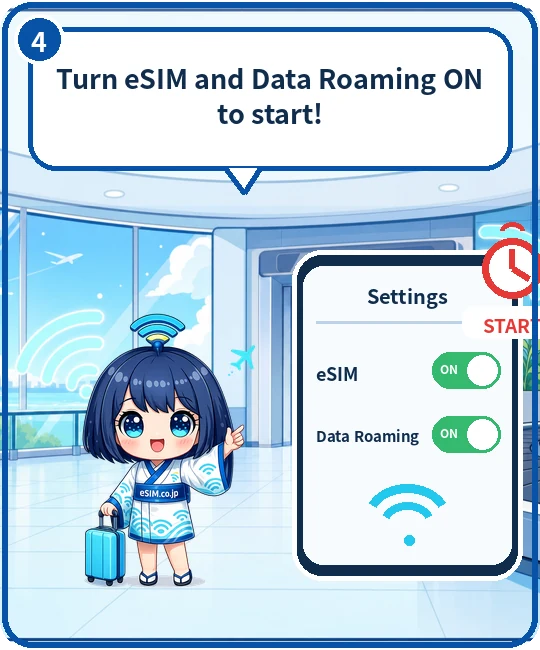
After you land, turn on the eSIM you installed and make sure Data roaming is ON. That is what connects you to the local network — and for most plans, this is when your days start. A few products also need you to dial a short number once you arrive; you will find it in your QR email and on your order page.
Turn your existing SIM's line OFF. If the settings are wrong, that SIM can run up expensive roaming charges. If you do need to keep using it while travelling you can leave it on — just remember the roaming charges still apply.
Maps, messages — everything works just like at home. Your existing number stays active, so you won't miss a call.
A few products activate differently — your product's own flow is shown on its product page and your order page.